
Step #1:

- Wrap the wire around battery, leaving about 2" extra on each end.
Step #2:
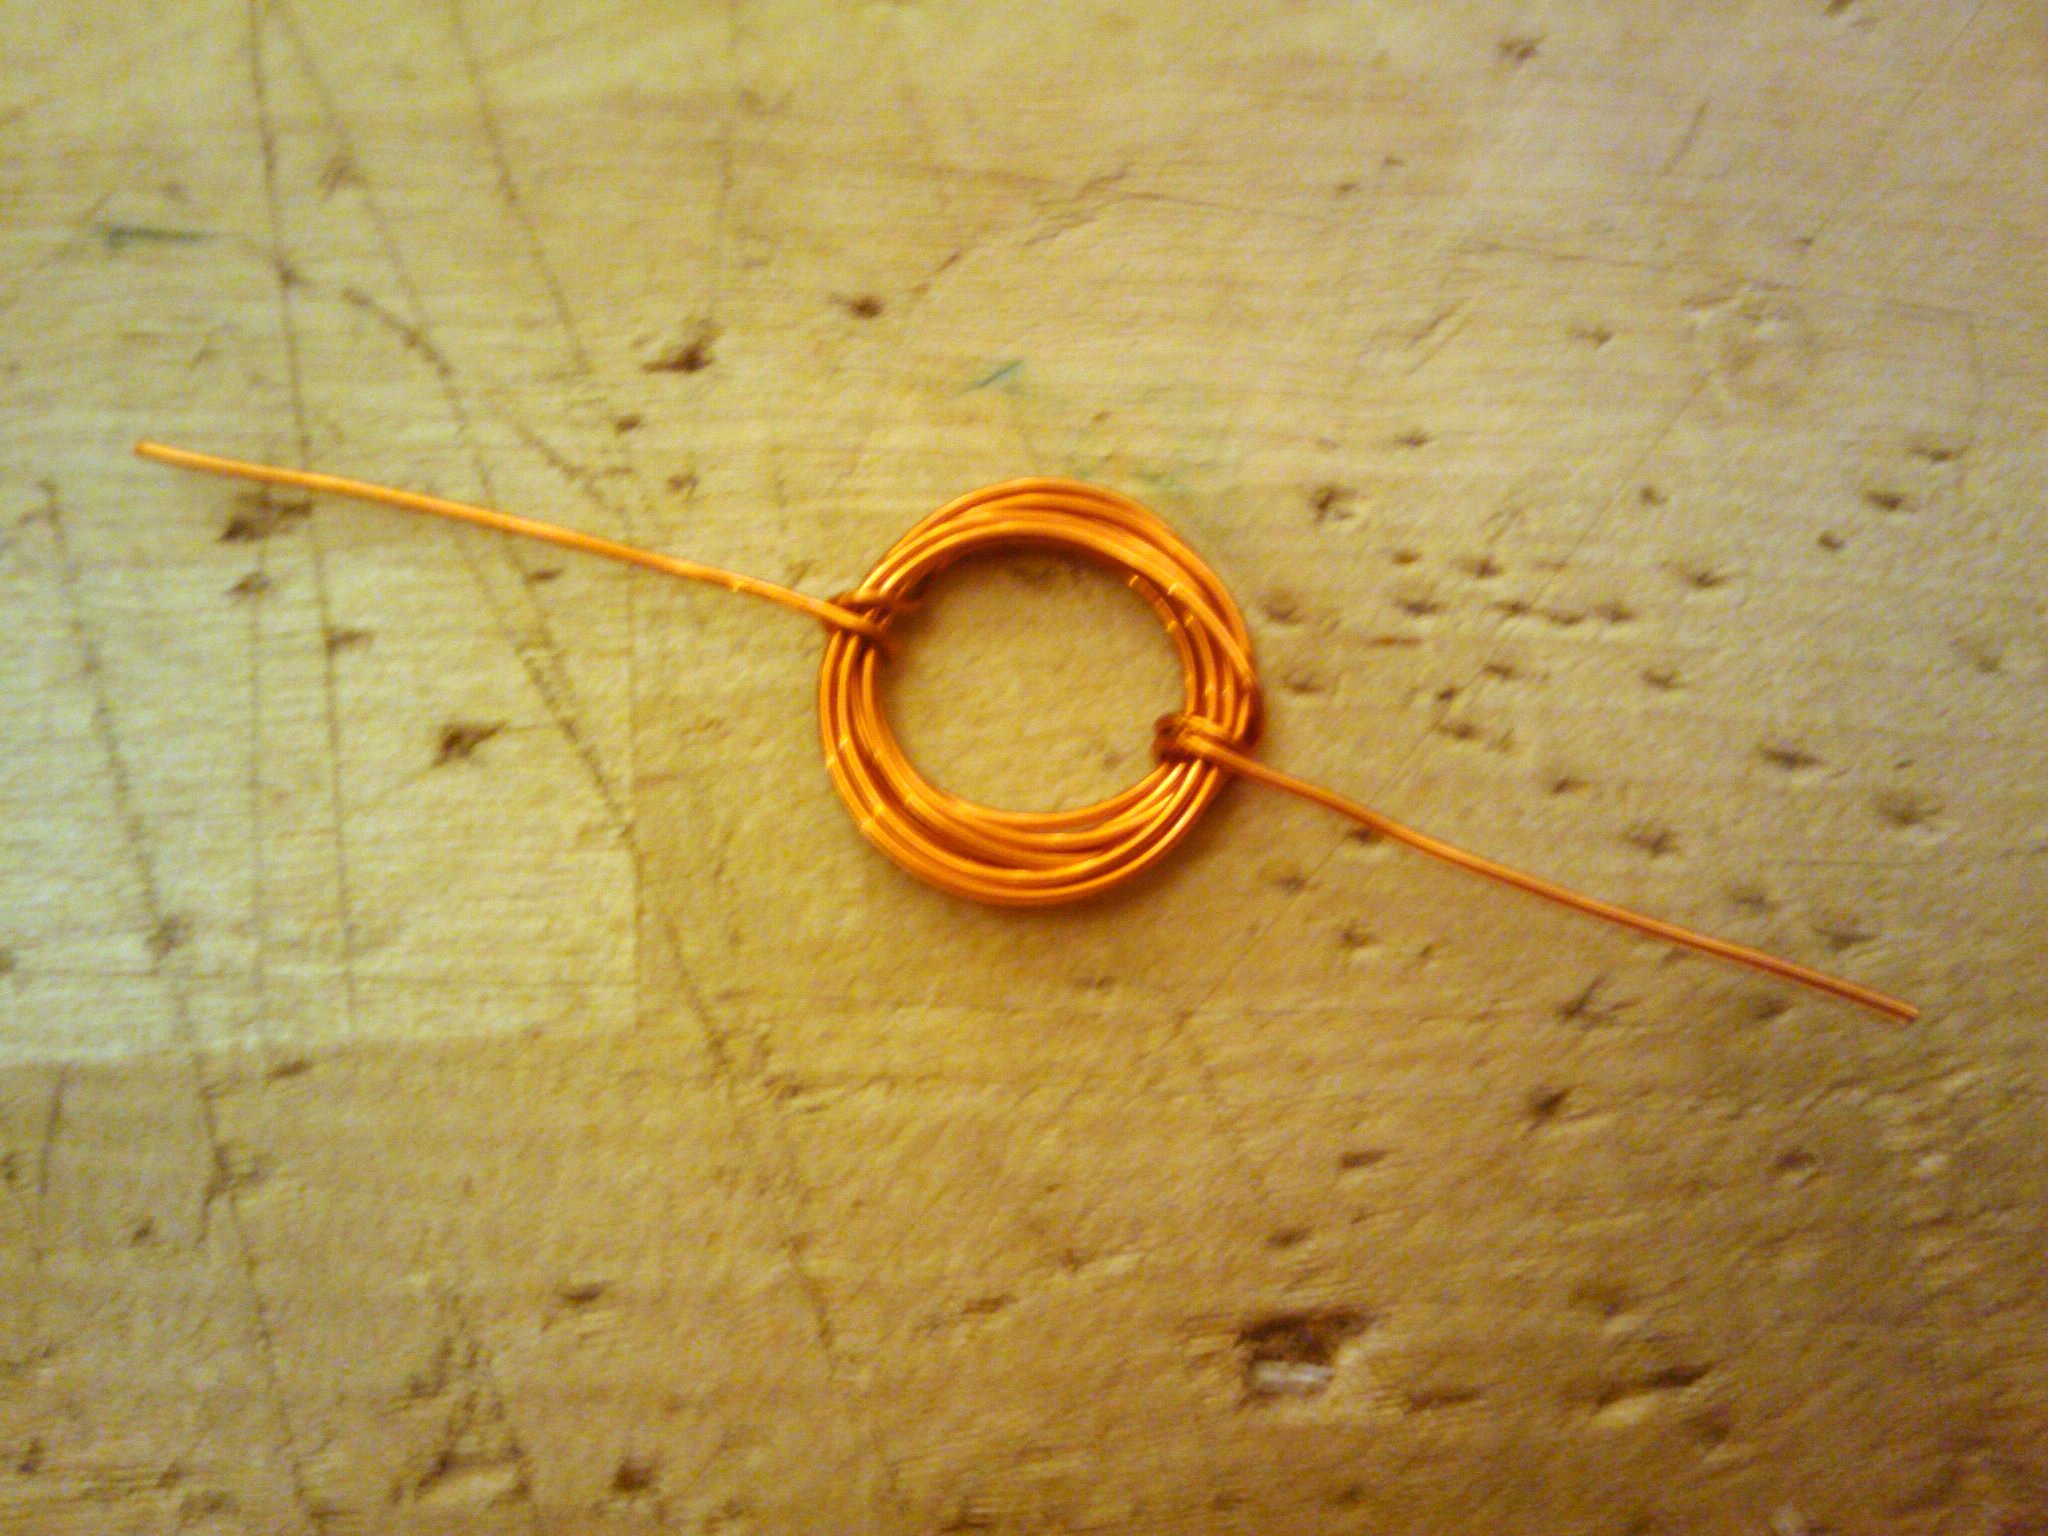
- To keep the coil from unraveling, wrap each end around the coil a few times. The two ends should be on opposite sides of the coil from each other.
Step #3:
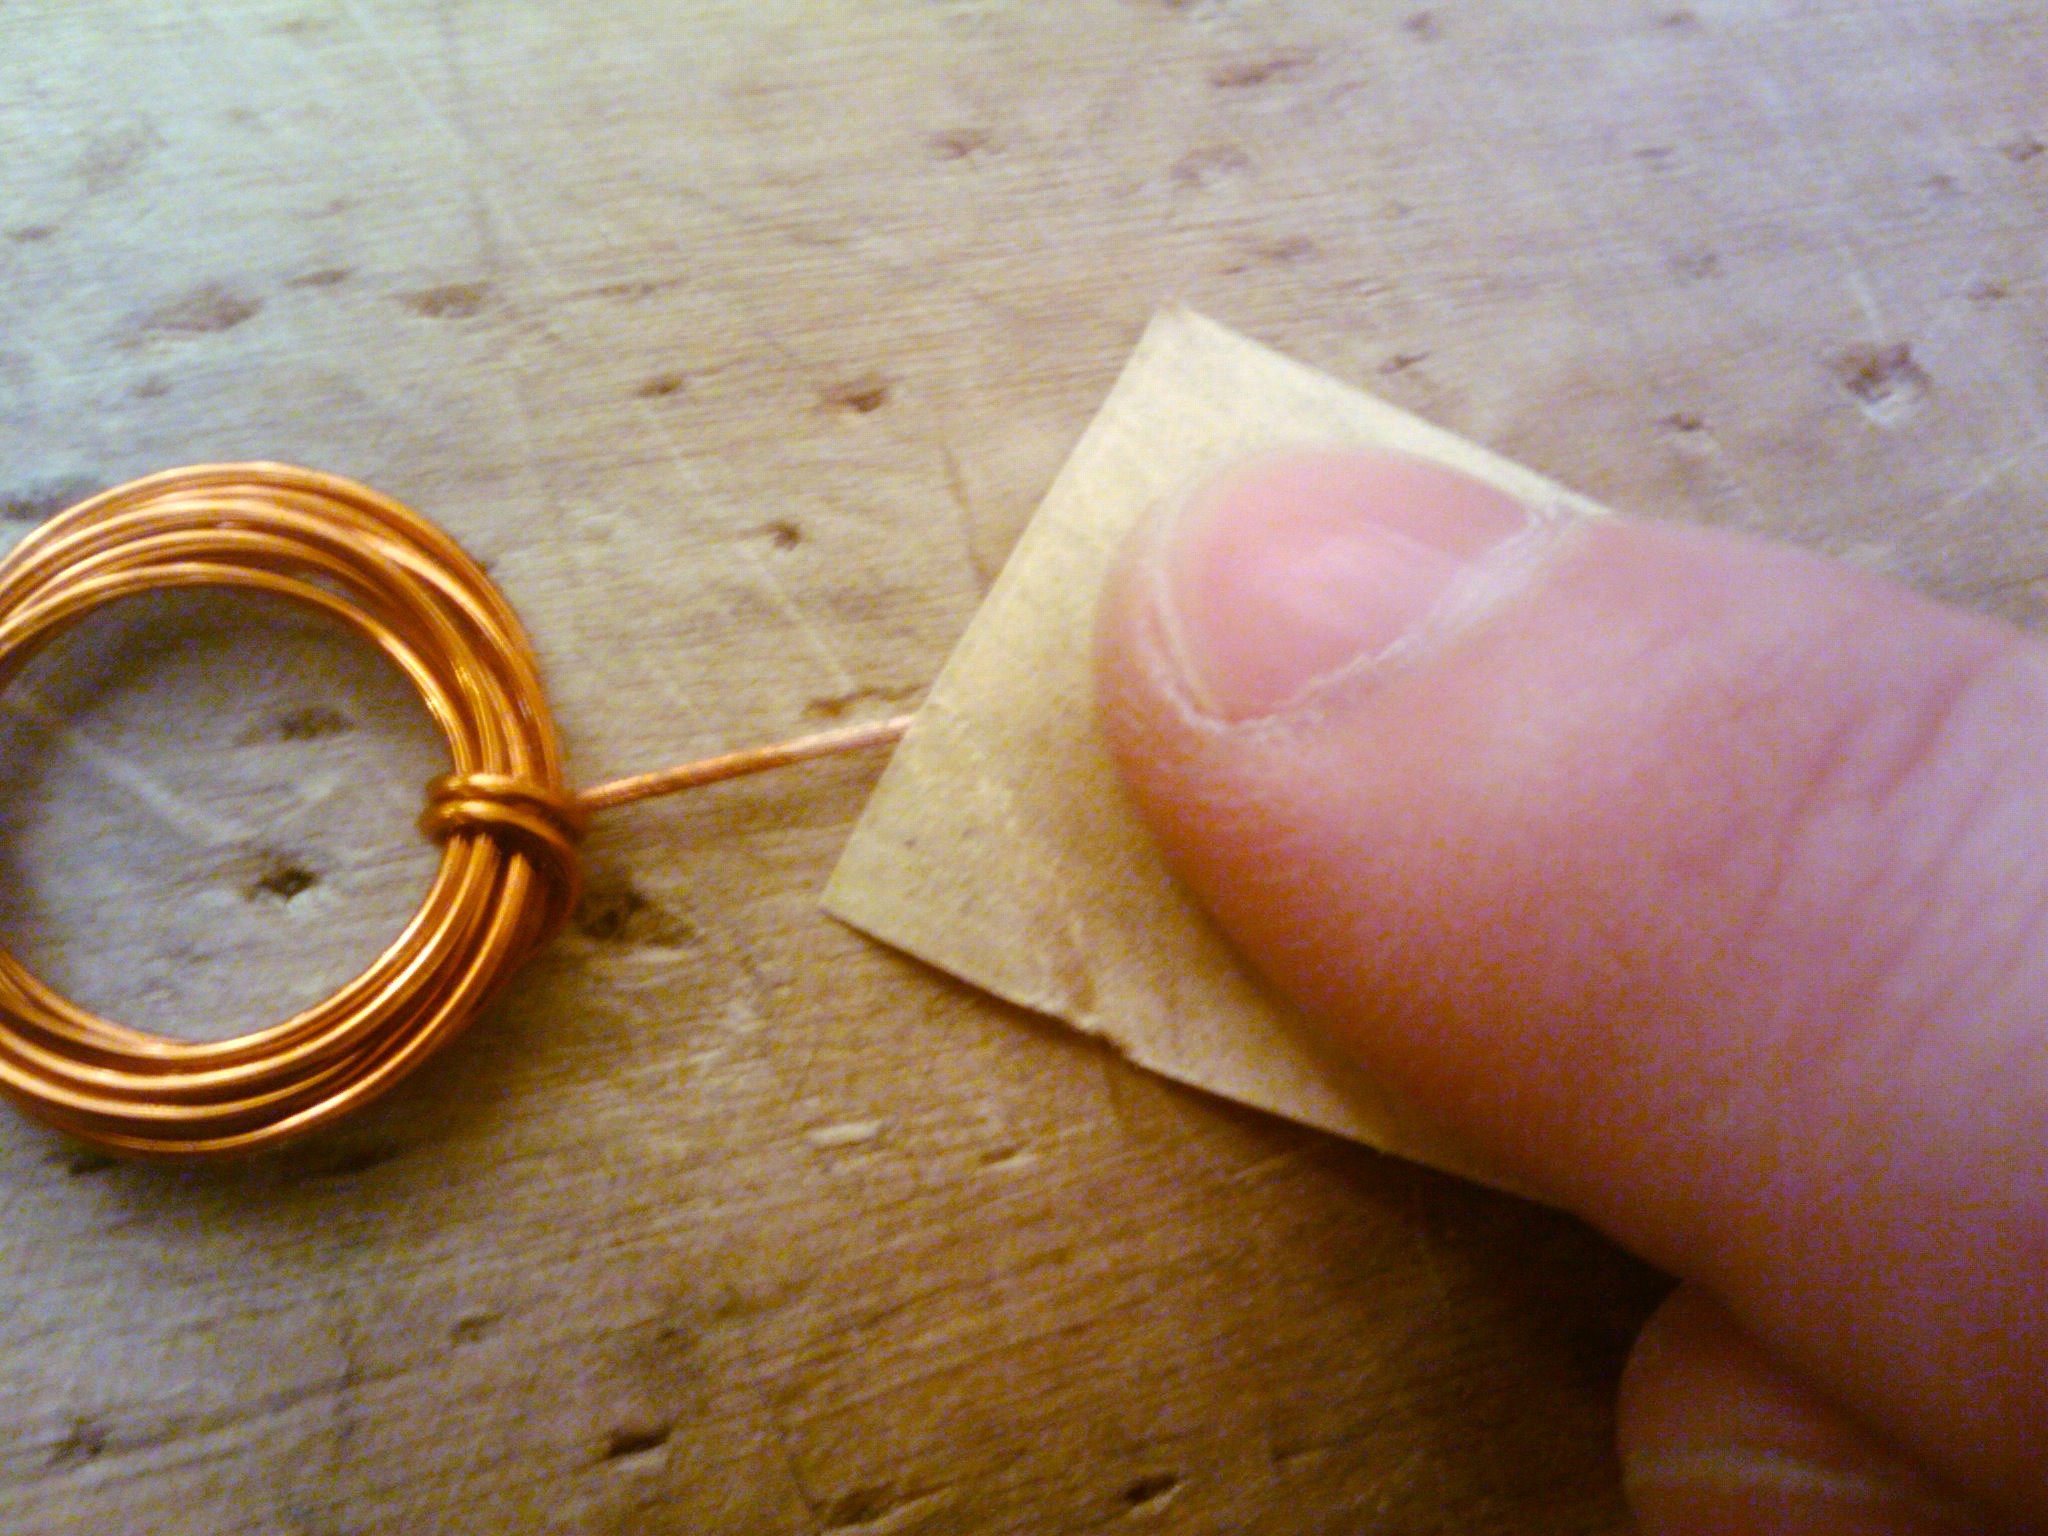 Using the sandpaper, rub off all of the enamel insulation from one end of the wire.
Step #4:

- On the other end, strip off the insulation from one side of the wire, radially. The purpose of this step is to allow the coil to turn on for part of its rotation, and then to turn off on the other part.
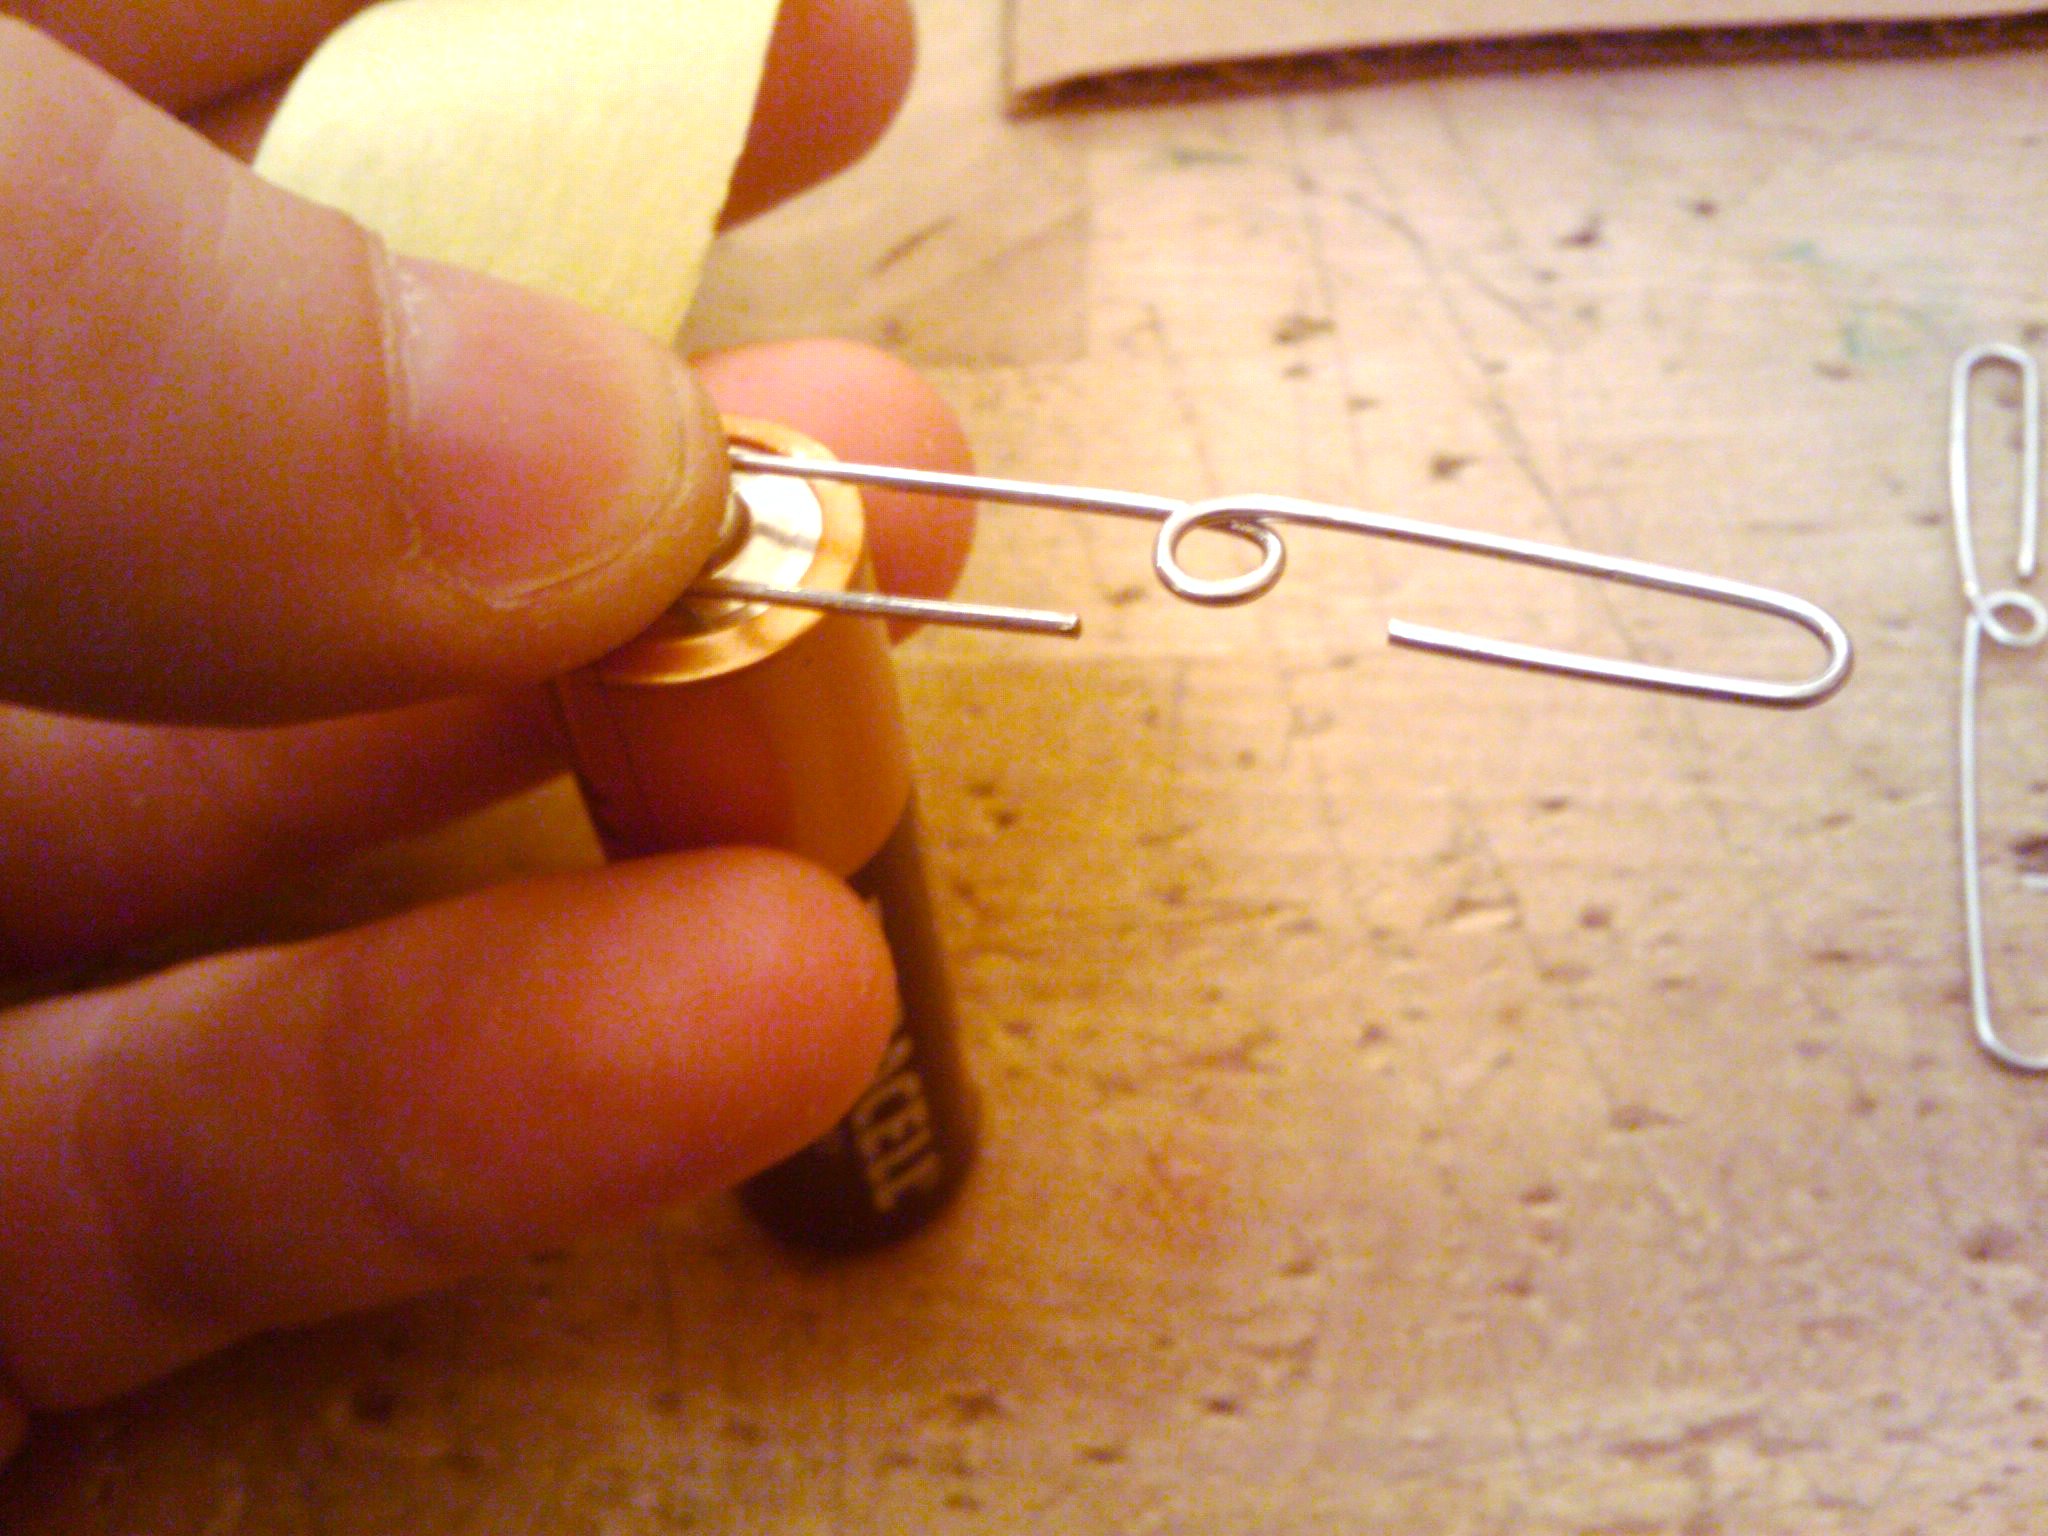
Step #5:
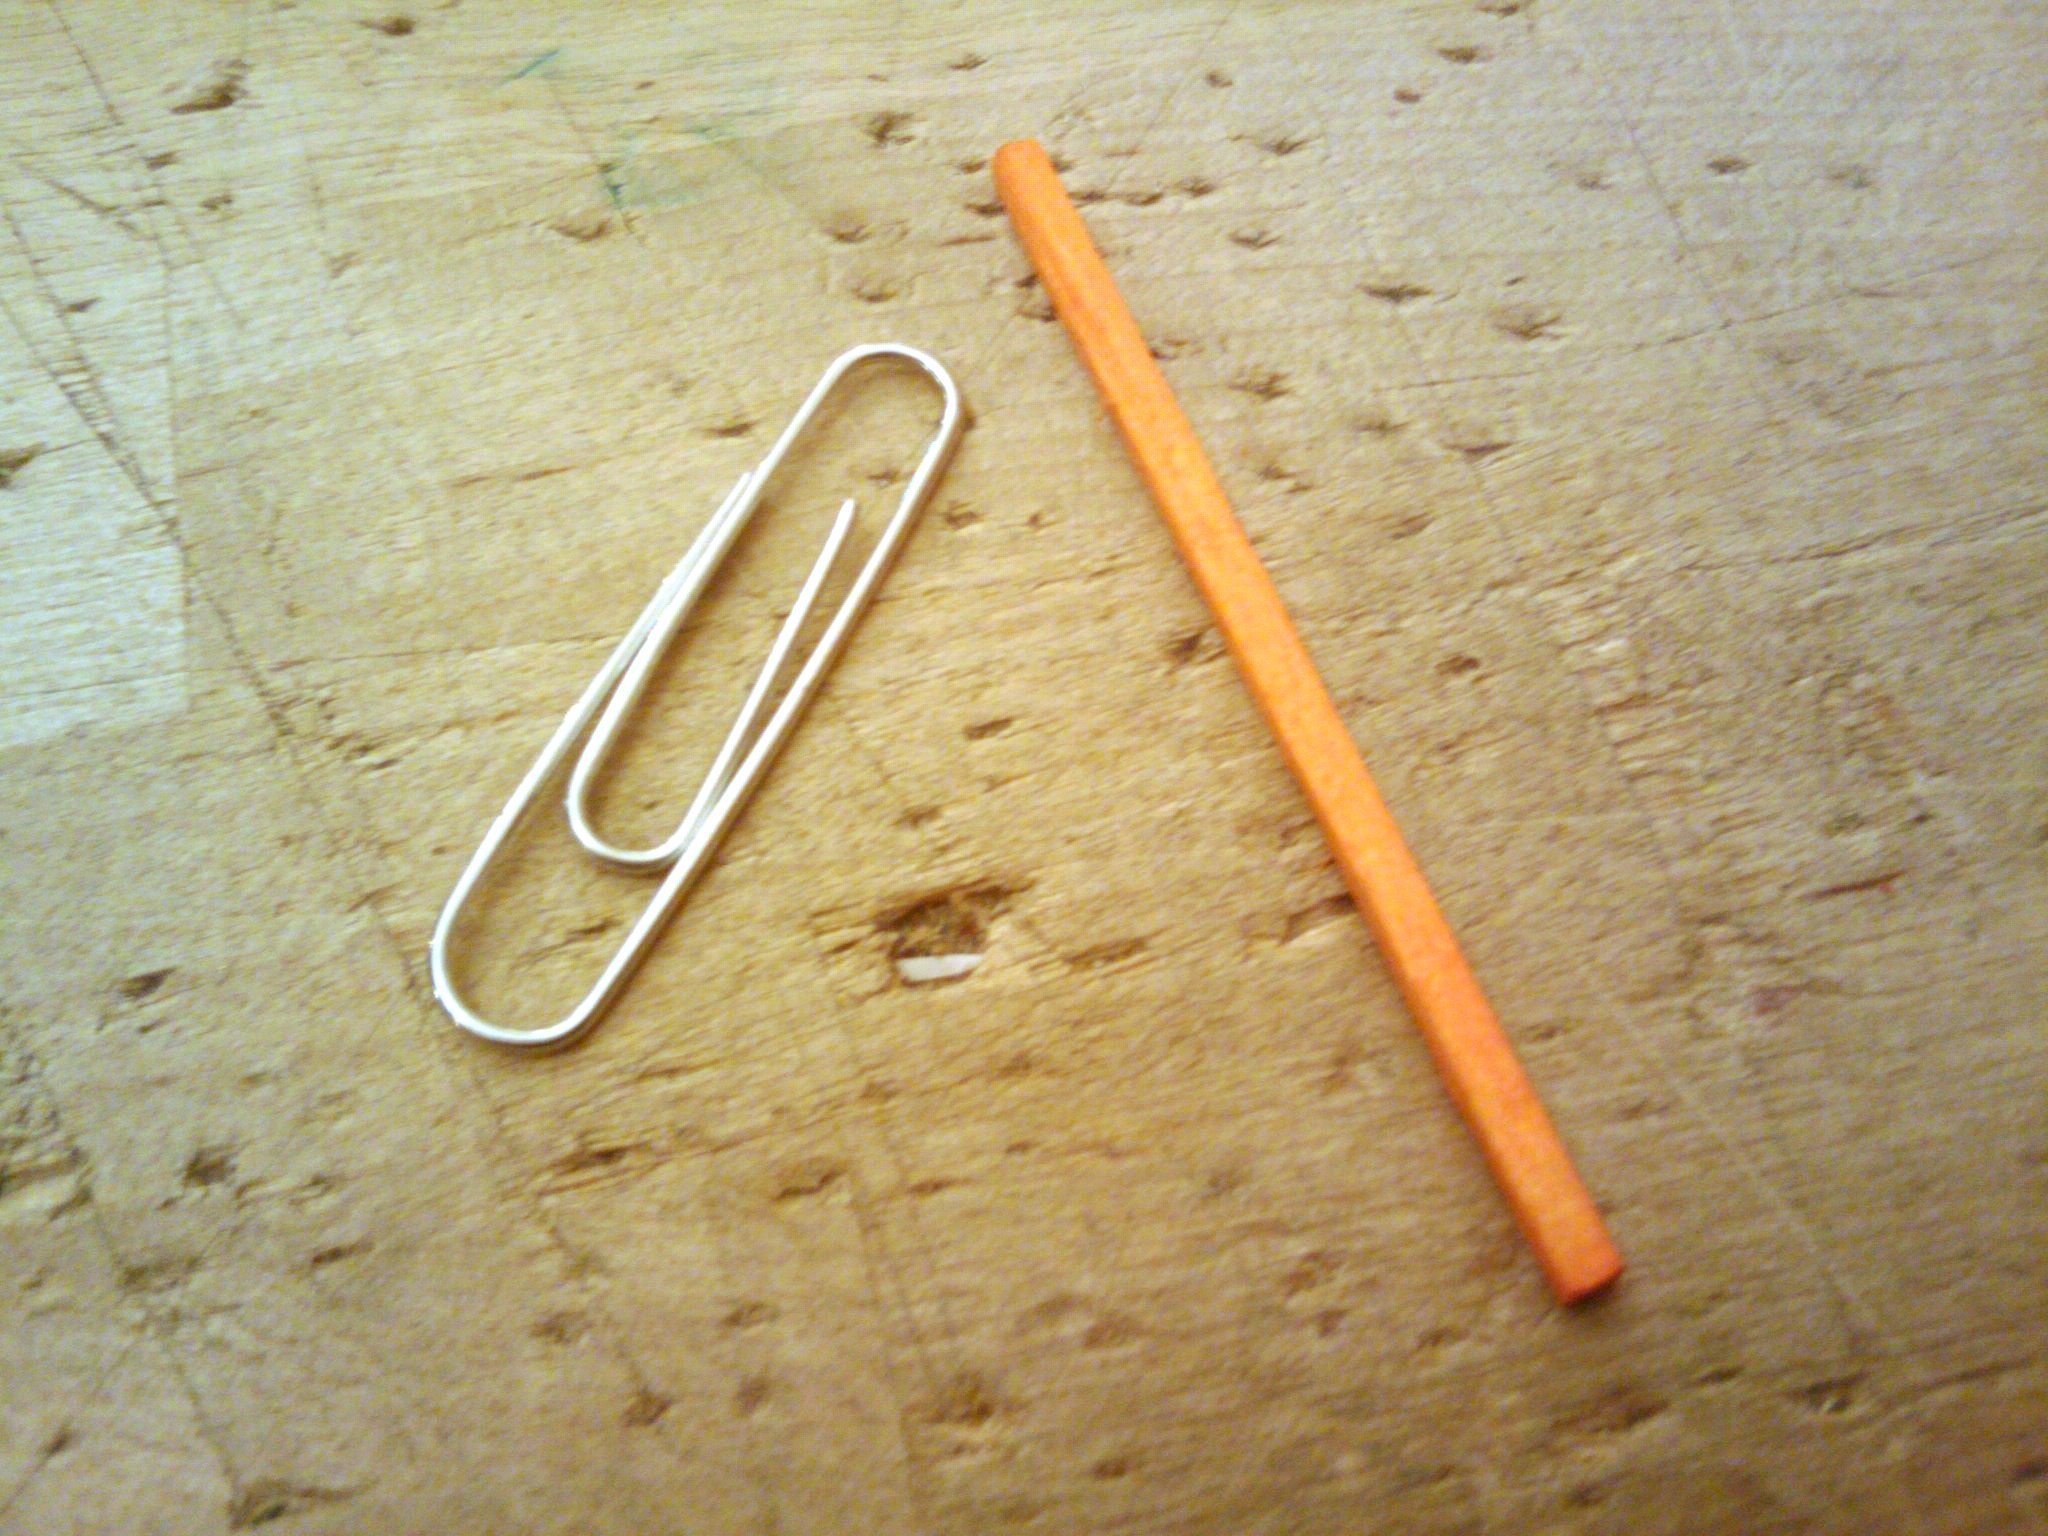
- Gather the paperclip and a toothpick or other piece of scrap wood. Stick the toothpick into the paperclip, next to the middle curve, and bend the paperclip to create a small loop. Repeat this step so that you have two motor stands.
Step #6:
 Next, take one of the paperclip stands, and tape the larger end to the positive battery terminal, making sure that the metal from the paperclip touches the metal battery connector.Then, take the other stand and tape it to the negative battery terminal.
Step #7:
- To keep the motor base from falling over, tape it to the piece of cardboard.
Step #8:

- Now, place the coil on the motor base, sticking one end through each of the loops in the paperclip stands.
Step #9:
- Finally, stick the magnet to the top of the battery, and center the coil over it. If everything is just right, giving the coil a little spin will cause it to start rotating.
- Don't fret if it doesn't work the first time. This simple motor can be a bit finicky to get working, and you will probably have to adjust the end of the wires a bit until the coil is balanced.
Vary cool
ReplyDelete